| |
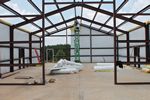
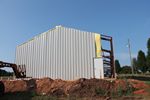
7/7/2014 - Rear Wall
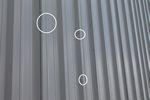
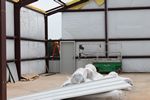
We started on the rear wall of the building today. I didn’t like the way we were joining the bats of insulation on the side walls so I had the guys do it differently today. The white backing is 4 inches wider than the fiberglass on both sides of each bat. On the side walls we were just taping and overlapping the 4 inch excess which left a 4 inch gap between the fiberglass portions. Today I had them tape the lap behind the glass bat on each sheet. This required us to flip the extra 4 inch flap in between the bats, but gave us more contiguous insulation through the wall. I think we’ll do the roof in the same fashion.
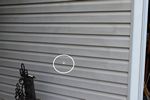
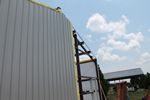
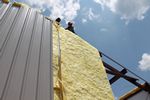
The insulation was a little more difficult because the sheets laid over the roof angle at the top. It just took a little longer to get the sheet straight. The first panel went up without a hitch. We brought the second panel out but because it came right to the edge of the insulation we decided to put up the next sheet of insulation first. We just leaned it against the building with a foot exposed over the top. While we were setting and taping the insulation, a tiny puff of air cam up and pushed the panel off of the building. It fell over the LULL and put a couple of dents in it. We got some hammers and pieces of wood and did our best to bang out the worst spots. I’m glad that I paid attention when watching Doug do body work down at Dentman in Florida.
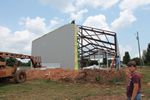
When we got near the peak it appeared that We had been measuring a little off and each panel was getting about a ½ inch shorter as we went across. This caused one panel to be short enough that it was missing the roof angle that we had installed over the purlins. I used a piece of scrap and cut a 4 inch filler panel that we inserted at the bottom so we could raise the panel enough to catch the top angle.
I had the guys take an early lunch thinking we would end like weeks past at 1:30pm or so. I had to run out and deliver some papers to the Ford dealer and get insurance for the new truck. Turns out early lunch was a mistake because we worked till 6pm today.
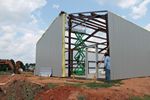
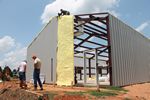
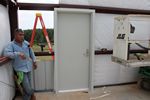
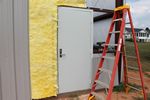
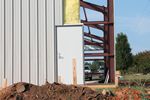
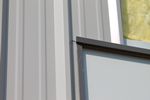
We went ahead and mounted the rear door, that took about an hour. Then we dug out the door trim for the outside and looked at the plans. The drawing show different pieces than what we have and there is NO verbiage as to how to install the trim. You are expected to figure it out from pictures that don’t match your pieces. I was on the phone with the building broker asking about the missing door lock parts so he had one of the guys that has actually worked on a building call me and he explained it to me. There is some cutting and bending required on the top piece that isn’t explained on the plan detail.
After installing the door trim we cut the panel to go around one side of the door. We had to make a small extra cut at the door side and the it slipped in nicely. We have to sling one more sheet of insulation, cut and install two more panels and the back wall will be done. We will then move to the front wall where the garage door is and install the man door and sheet that. When that’s all done we start on the fun part, “THE ROOF”.
|
|
|
|
|
|
|
|
|
Copyright (C) 2004-2014, Larry Manka. all rights reserved.
|
|